
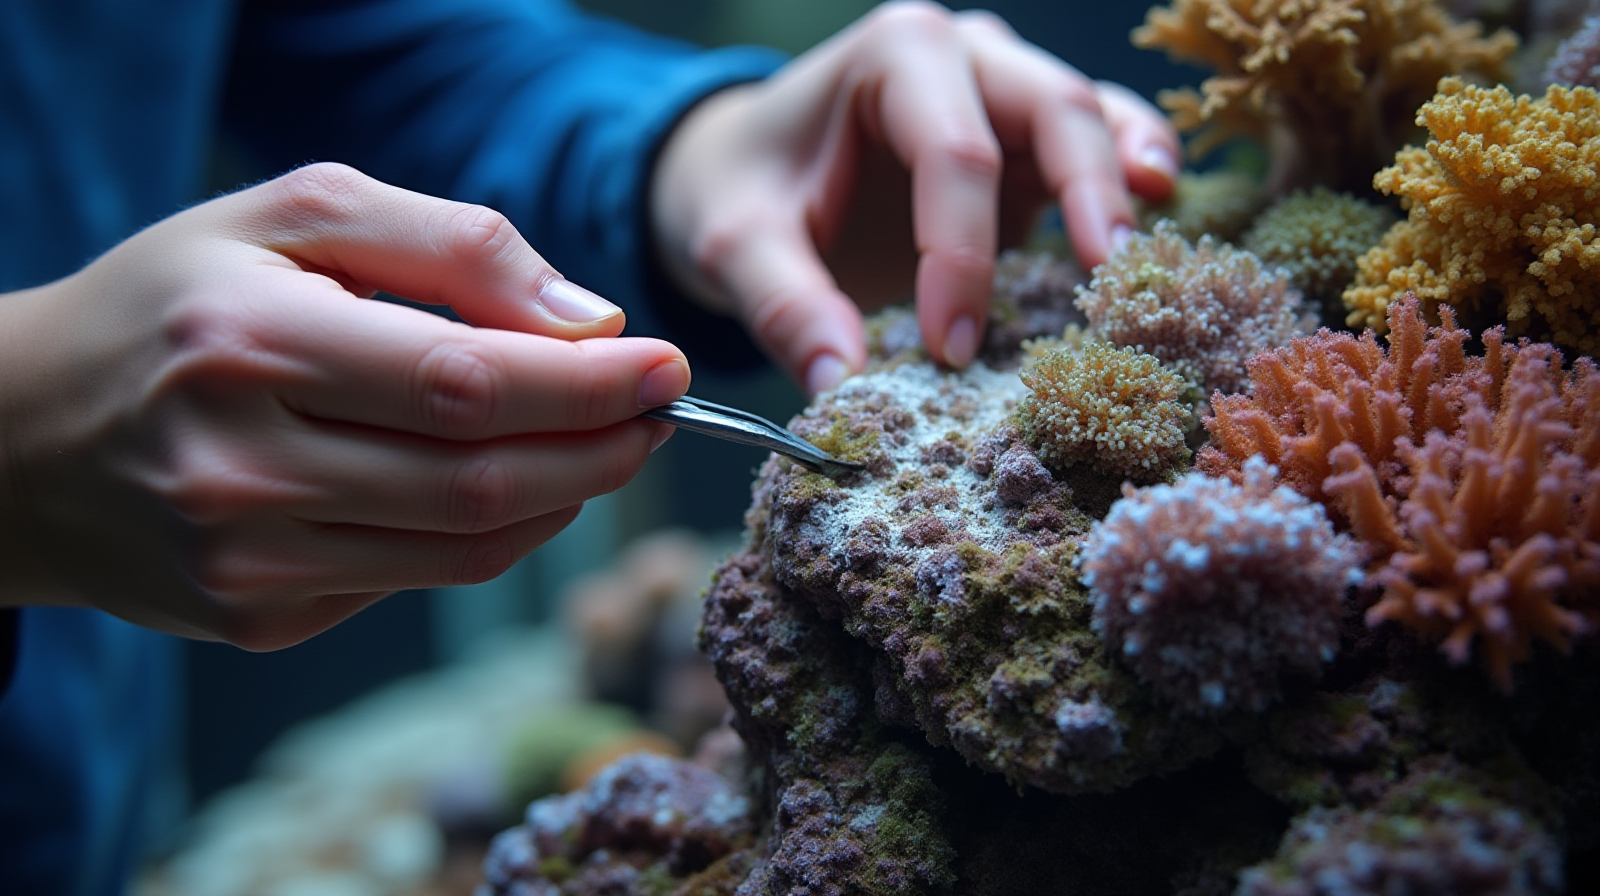
How to Deal with That Stubborn Bubble Algae Stuff
Written by Diamond Dave — September 14, 2026
A no-nonsense guide for manually stripping Valonia and Ventricaria off your rockwork.
The newsletter for intermediate reef keepers who are tired of scrubbing algae off every surface.
First off: What even is this stuff?
If you’re looking at your rocks and seeing what looks like tiny, glistening bubbles of green or brown “bubbles” clinging to the surface, you’re likely dealing with Valoniae (often called bubble algae) or Ventricaria. I know it can be frustrating because these aren’t like typical hair algae that just grows long; they are structural. They actually anchor themselves onto your rockwork and create a physical barrier.
Knowing what you’re fighting matters because it changes how you approach the cleanup. Valoniae, for example, is notorious for being stubborn. It doesn’t just fall off when you give it a light brush; it often requires some mechanical effort to break that grip on your rocks. Ventricaria can be similar but sometimes presents as more of a “crust.” Identifying these early means you won’t waste time trying to “wash” them away with chemicals or hoping they’ll just starve out overnight. They are hardy, and once they establish themselves in the crevices of your hardscape, they usually require some hands-on work to move.
The manual approach—tools and technique.
When it comes time to get these off your rocks, I prefer a methodical approach over just grabbing a scrub brush and going at it wildly. You want to remove the algae without grinding down your rock surfaces or irritating nearby corals. For Valoniae specifically, you often need something with a bit of “bite” but not enough to chip the stone.
I usually recommend using a stiff-bristled nylon brush or a dedicated scraper for larger areas. If you have specific spots where the algae is thick, a small metal scraper (used carefully) can work well on limestone or live rock, but be cautious with porous surfaces as they can “grab” the tool and pull chunks of rock off instead. Here is how I break down the process:
- Identify the zone: Decide which rocks need attention today so you aren’t moving heavy pieces around for hours.
- The Scraping Method: Use a firm, horizontal motion with a scraper to “pop” the bubbles off.
- The Brush Technique: For smaller crevices where a scraper won’t fit, use a stiff brush and some firm back-and-forth motions.
- Targeted Removal: If you have corals nearby, move them to a neighboring tank before doing any heavy scraping to ensure they don’t get caught in the crossfire of debris or physical scrubbing.
Things I always forget (Mistakes to avoid).
One thing I learned early on—and it took me some time to realize because I was frustrated with my own progress—is that “more” is rarely the answer when dealing with stubborn algae like this. One common mistake I see folks make is over-relying on chemical “algaecides.” These can be incredibly harsh and often end up stressing your fish or killing off beneficial bacteria in the filter before they even touch the Valoniae.
Another big one is being too aggressive with physical removal near live organisms. If you’re trying to scrub a rock that has a coral polyp growing on it, don’t just “power through” it. You can tear the tissue right off the coral. Also, avoid using wire brushes or anything metal and abrasive on porous rocks like limestone; it will leave permanent gouges in the stone. It’s better to take three passes with a nylon brush than one pass with something that ruins your hardscape. Patience is usually more effective than force when you’re trying to keep the tank stable.
Cleaning up after the scrape.
Once you’ve spent an hour scrubbing and scraping, you’ll likely have a lot of “debris” floating around. This isn’t just the algae; it’s often bits of dead organic matter that were trapped under those bubbles for weeks. You don’t want this stuff sitting in your water column to rot or cause a spike in ammonia while it breaks down.
I usually handle the cleanup like this:
- Immediate Rinse: If you took pieces of rock out to scrub them, I give them a quick rinse with a spray from my net_brush before putting them back.
- Settling Period: After scraping in-tank, let the debris settle for about 30 minutes. Most of it will fall to the bottom.
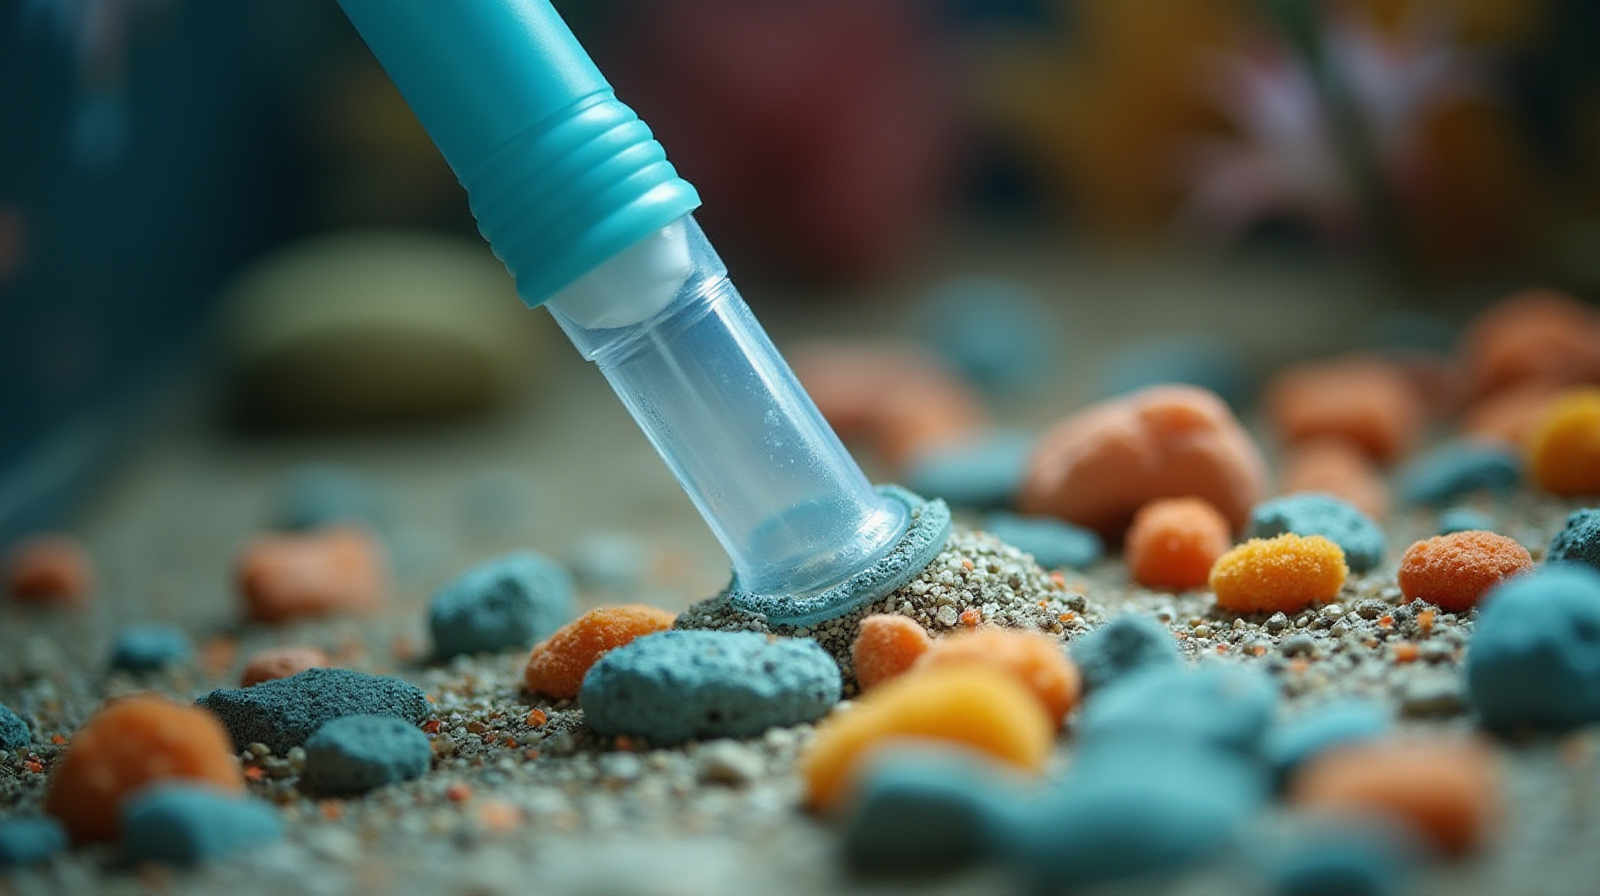
- Vacuuming: Use your gravel vacuum to suck up the bulk of the organic matter from the substrate before you put the rocks back into their original spots.
This keeps the water clear and ensures that the “mess” you made while cleaning doesn’t turn into a secondary problem for your fish. If you find yourself frequently dealing with massive amounts of debris, it might be time to look at how much organic waste is actually entering the system in the first place.
The long game: Keeping it from coming back.
The hardest truth about bubble algae is that once it’s there, manual removal only solves the symptom, not the cause. If you scrub it off today and don’t change anything else, it will be back in a few weeks. These types of algae thrive on specific conditions—usually a combination of high phosphate levels, lingering nitrates, and enough light to fuel growth.
To keep it from coming back, I focus on these three areas:
- Nutrient Control: Check your test parameters regularly. If phosphates are consistently climbing, you may need to look at where they’re coming from (often old food or over-fertilizing).
- Flow Dynamics: Sometimes algae settles in “dead zones” where water isn’t moving much. Adjusting your powerheads can help keep the area clean.
- Consistency: It’s better to have a steady, lower level of nutrients than a system that swings wildly.
Think of it as a maintenance cycle rather than a one-time fix. You want to create an environment where the algae finds it harder to survive than your corals and plants do. If you’re struggling to balance these levels or aren’t sure what your target numbers should be for your specific setup, I can help walk through those details with you.
Source: AquaticRig
Get new newsletter issues, guides, and product updates by email.